I Started a YouTube Channel

News / 09 August 2022

I've been having so much fun playing around with various AI art generators, and since my last AI comparison post, I've also gotten access to Dall-E 2 and Stable Diffusion. Can't wait to play around more with those.

Since I've started writing a bit again, I thought I'd turn my short stories into videos, using AI art for illustration. Since the stories are more horror than anything else, so far I've used Midjourney to illustrate them, but I anticipate branching out and using various tools to generate my various nightmares. I've also added other AI elements, such as uploading/automating my voice, and AI music.

My only previous experience with making a video was a slideshow for my mom's funeral, so...it's a bit of a learning curve, but as always, it's fun to try out new things.

Hope you'll support my channel: https://www.youtube.com/channel/UCvhLw05gZHOfALfpcBv8kaw

A new story will be available tomorrow in the AM (ET) as well...

Report

What If My Barbie Were a Real Person? (Using AI and Photoshop)

Making Of / 16 July 2022

Target had some Barbies on clearance, and I picked some up, thrilled that there is so much more representation and diversity now than when I was younger (of course, still plenty of unrealistic body images, even with the "curvy" ones). So of course I couldn't help trying to realize one of my faves into a "real" person.

I started off by taking a picture on my phone:

Then I uploaded it to ArtBreeder and cross-bred it with a fairly realistic looking Asian woman. Here's the result:

I then brought this into Photoshop for various cleanup, and also used the Liquify and Color Transfer features:

Took the above into FaceApp for eyebrows/hair/smile/makeup. FaceApp did a lot of the heavy lifting here:

I looked at the official Barbie Fashionista #177 image from Mattel:

Clearly, my photography skills are sorely lacking, and my photo of my Barbie did have some selfie distortions. So I used the above photo as a reference on facial proportions, and fine tuned the portrait in Photoshop for the final result:

What do you think?


Report

Testing Out the Same Prompt on Different AI Art Generators

General / 27 June 2022

These first four images were made in Midjourney with the following prompt: 

oil painting of fantasy elven village inspired by Lord of the Rings by marc simonetti, mood lighting, trending on artstation --wallpaper

The next four images were made from Disco Diffusion using the following prompt:

oil painting of fantasy elven village inspired by Lord of the Rings by marc simonetti, mood lighting, trending on artstation [default settings but with n_batches set to 1]

These next four images were generated using StarryAI using the following prompt:

oil painting of fantasy elven village inspired by Lord of the Rings by marc simonetti, mood lighting, trending on artstation [Orion @ 250 iterations, no additional styles used]

Next up we have Wombo Art, with the following prompt:

oil painting of fantasy elven village inspired by Lord of the Rings by marc simonetti, mood lighting [Fantasy Art style; had to leave out "trending on artstation" due to character limits] 

Finally, I tested out NightCafe with the following prompt:

oil painting of fantasy elven village inspired by Lord of the Rings by marc simonetti, mood lighting [Text to Image/Video; Fantasy style]

What do you think?


Report

Transferring Felicity HD from G2F to G8F

Tutorial / 26 October 2020

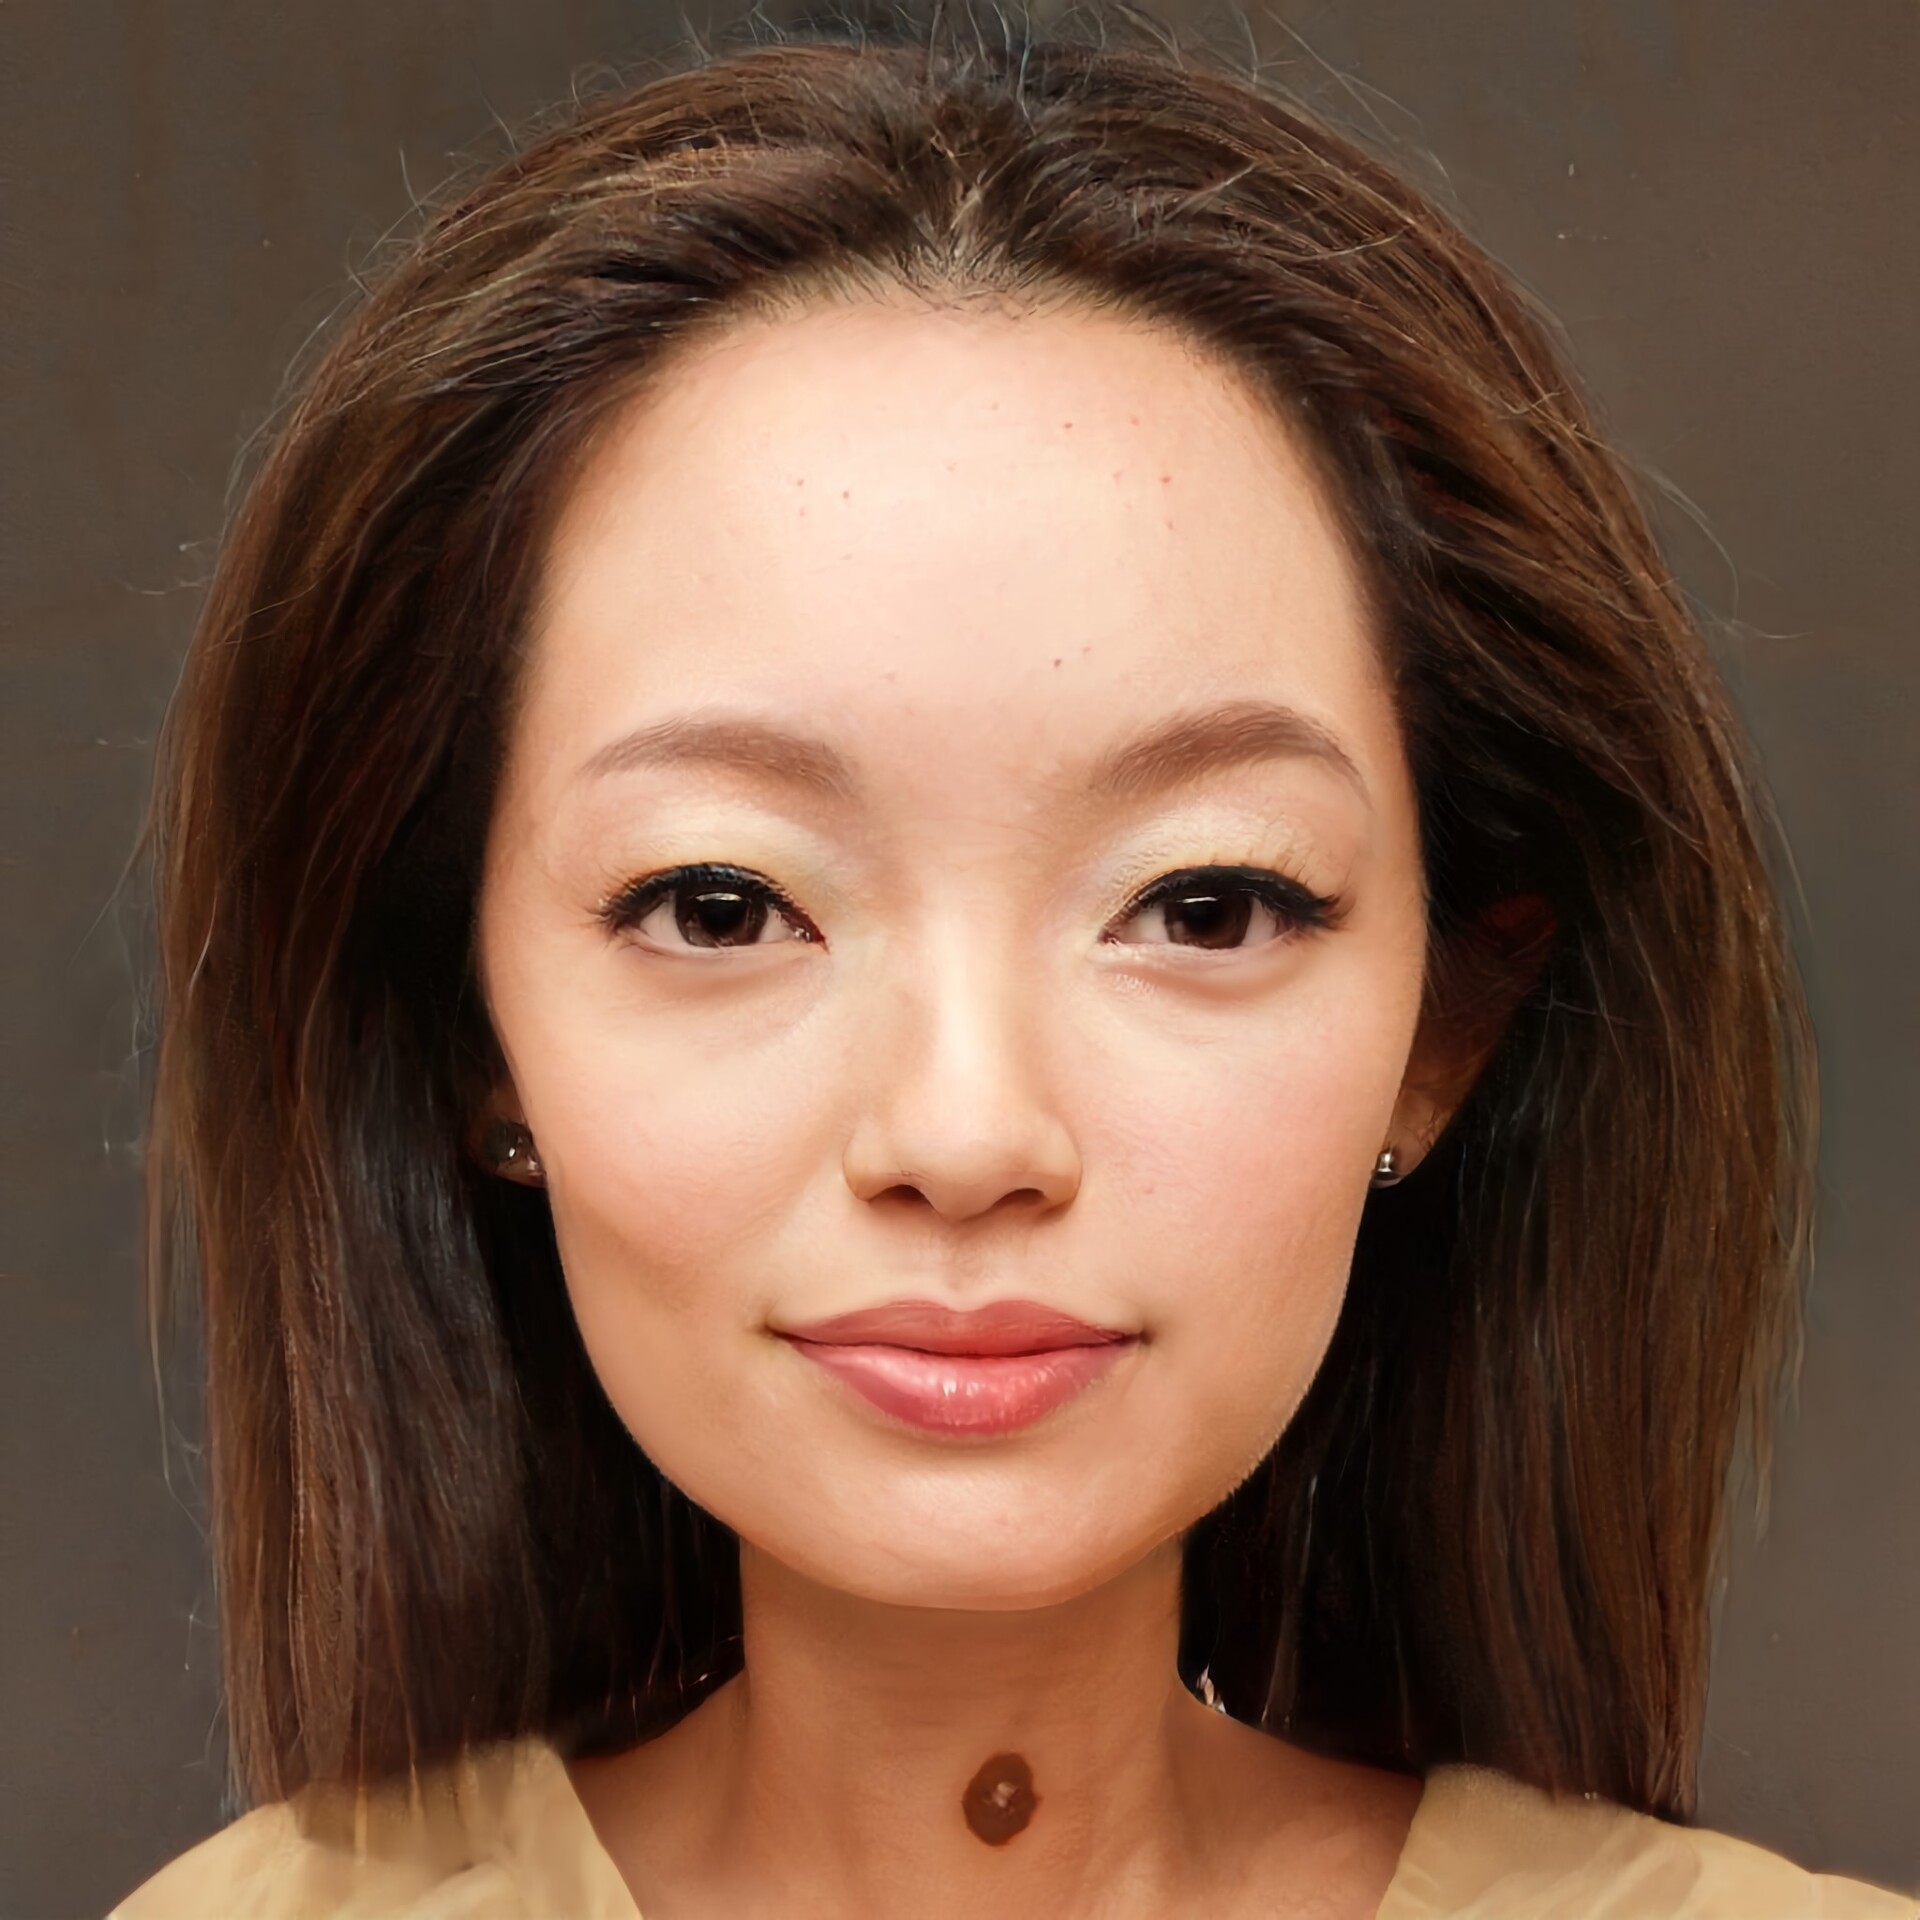
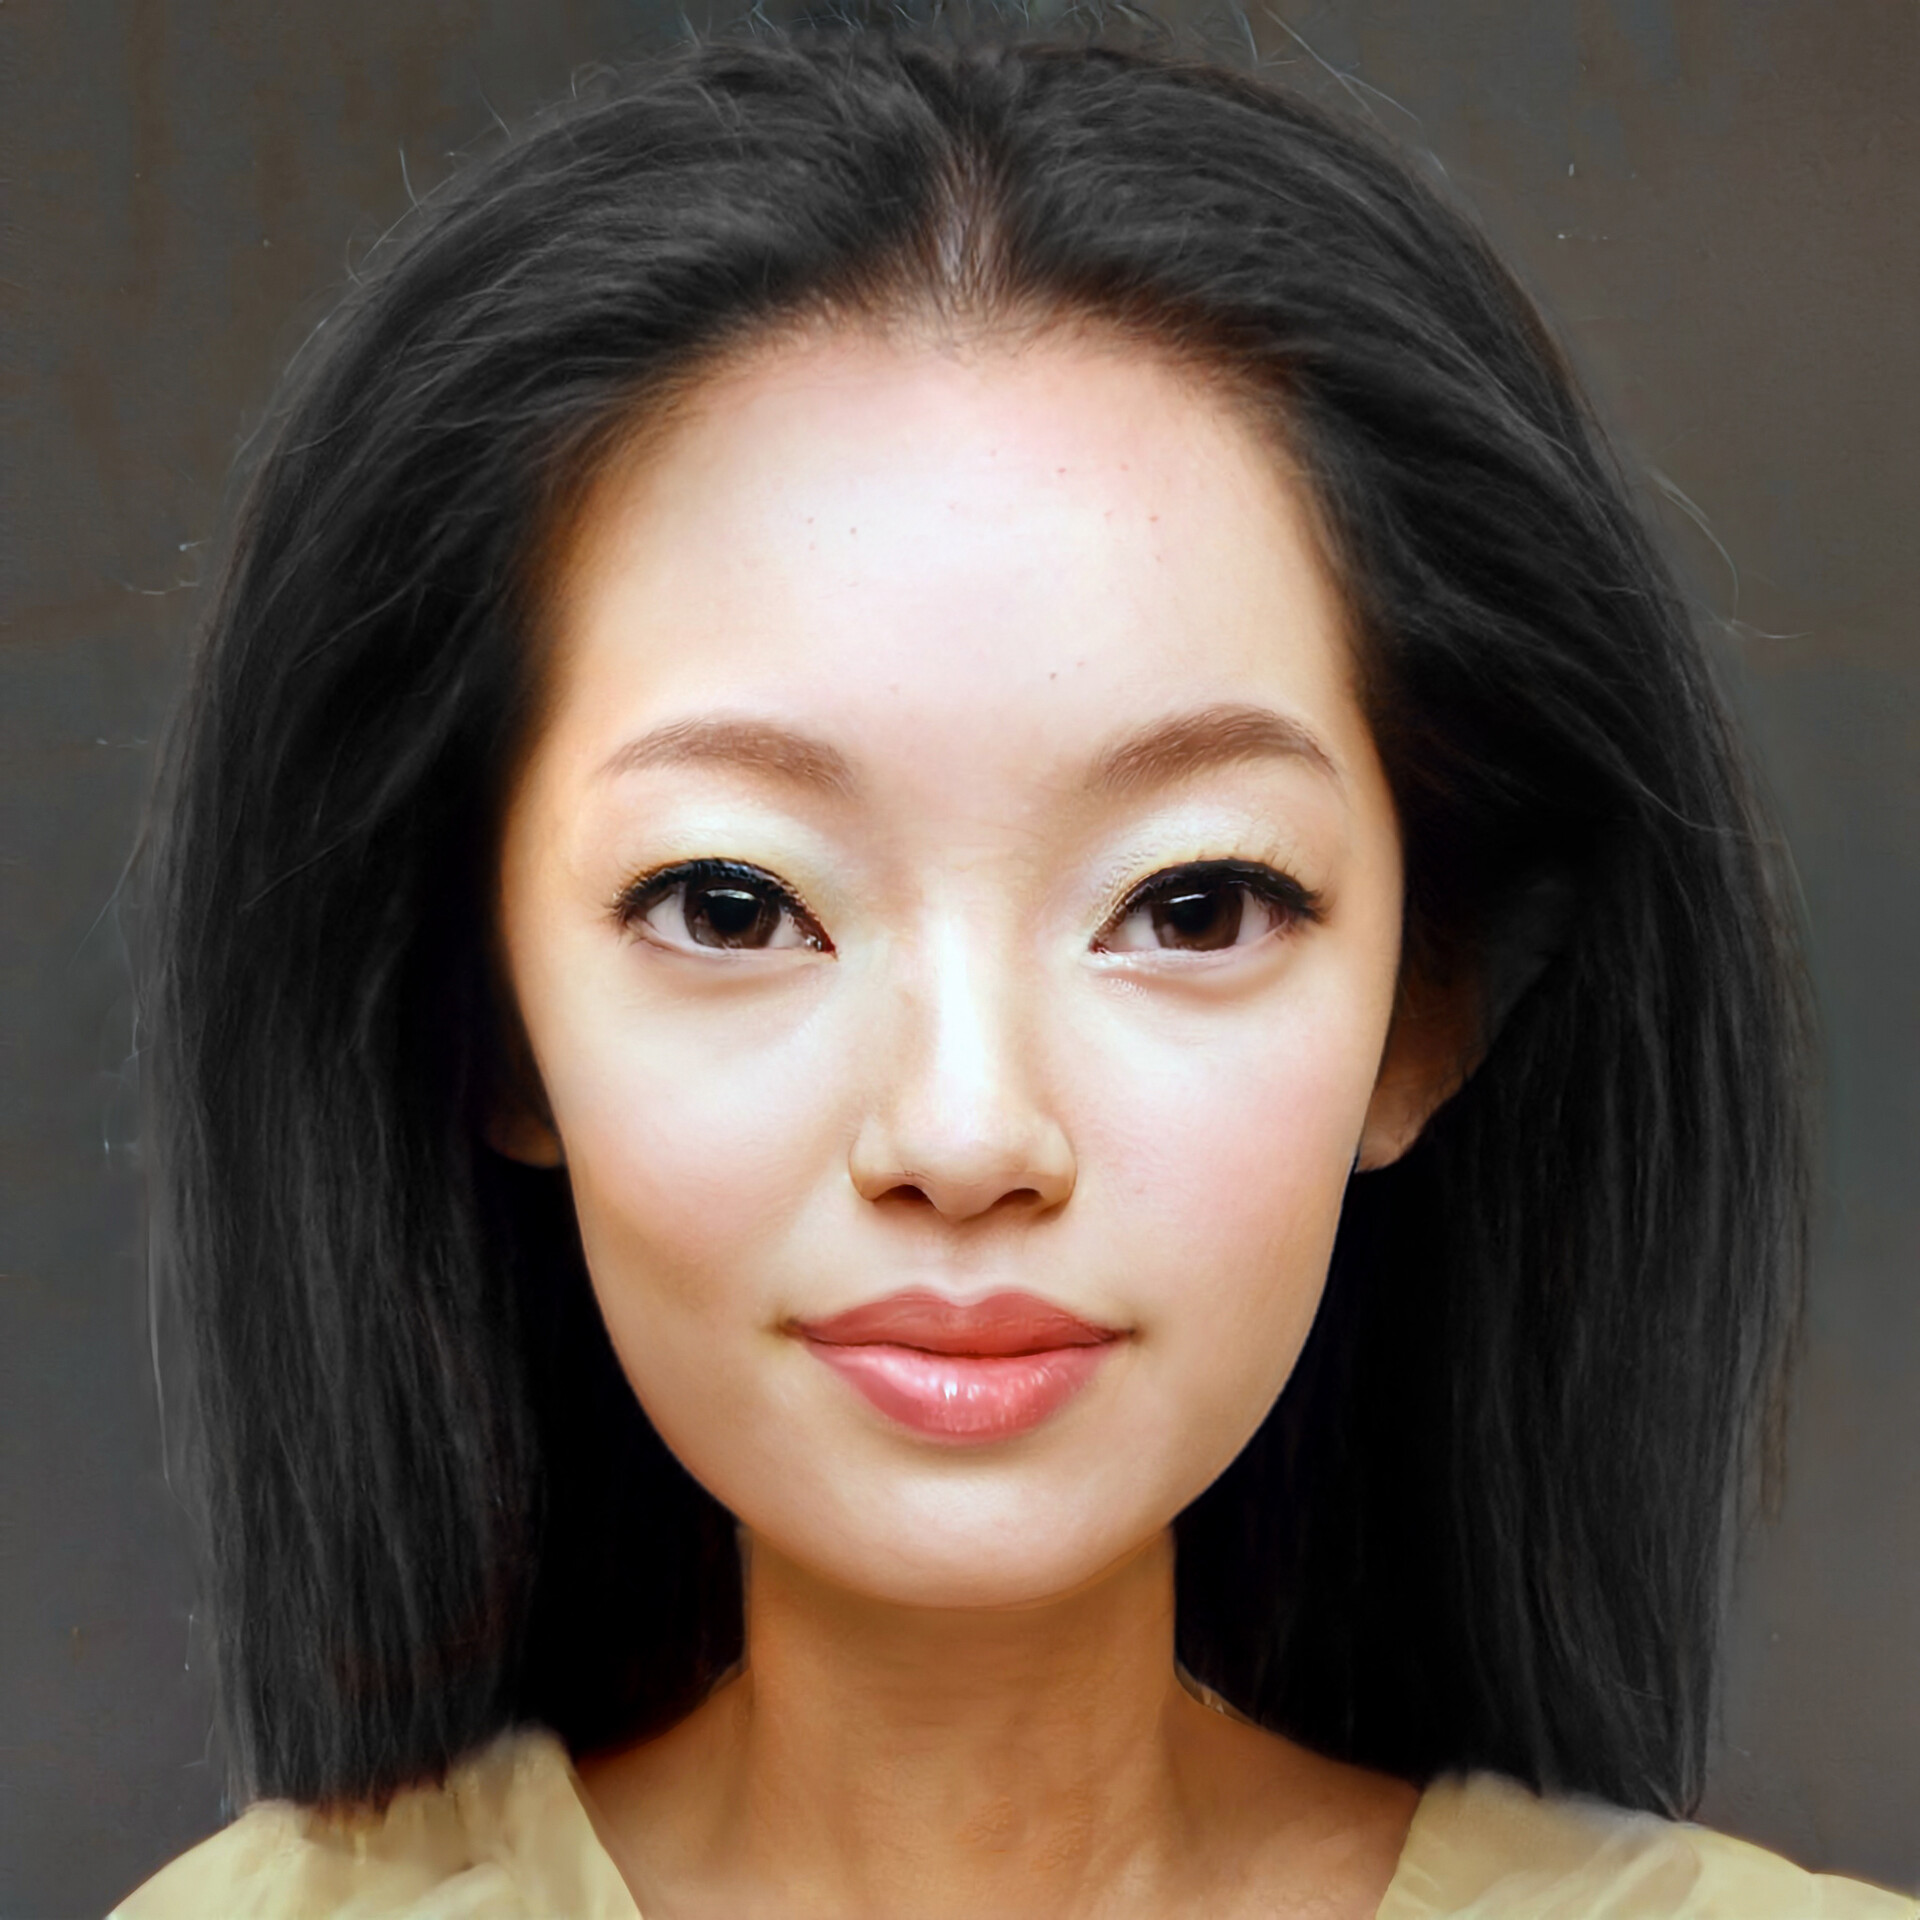
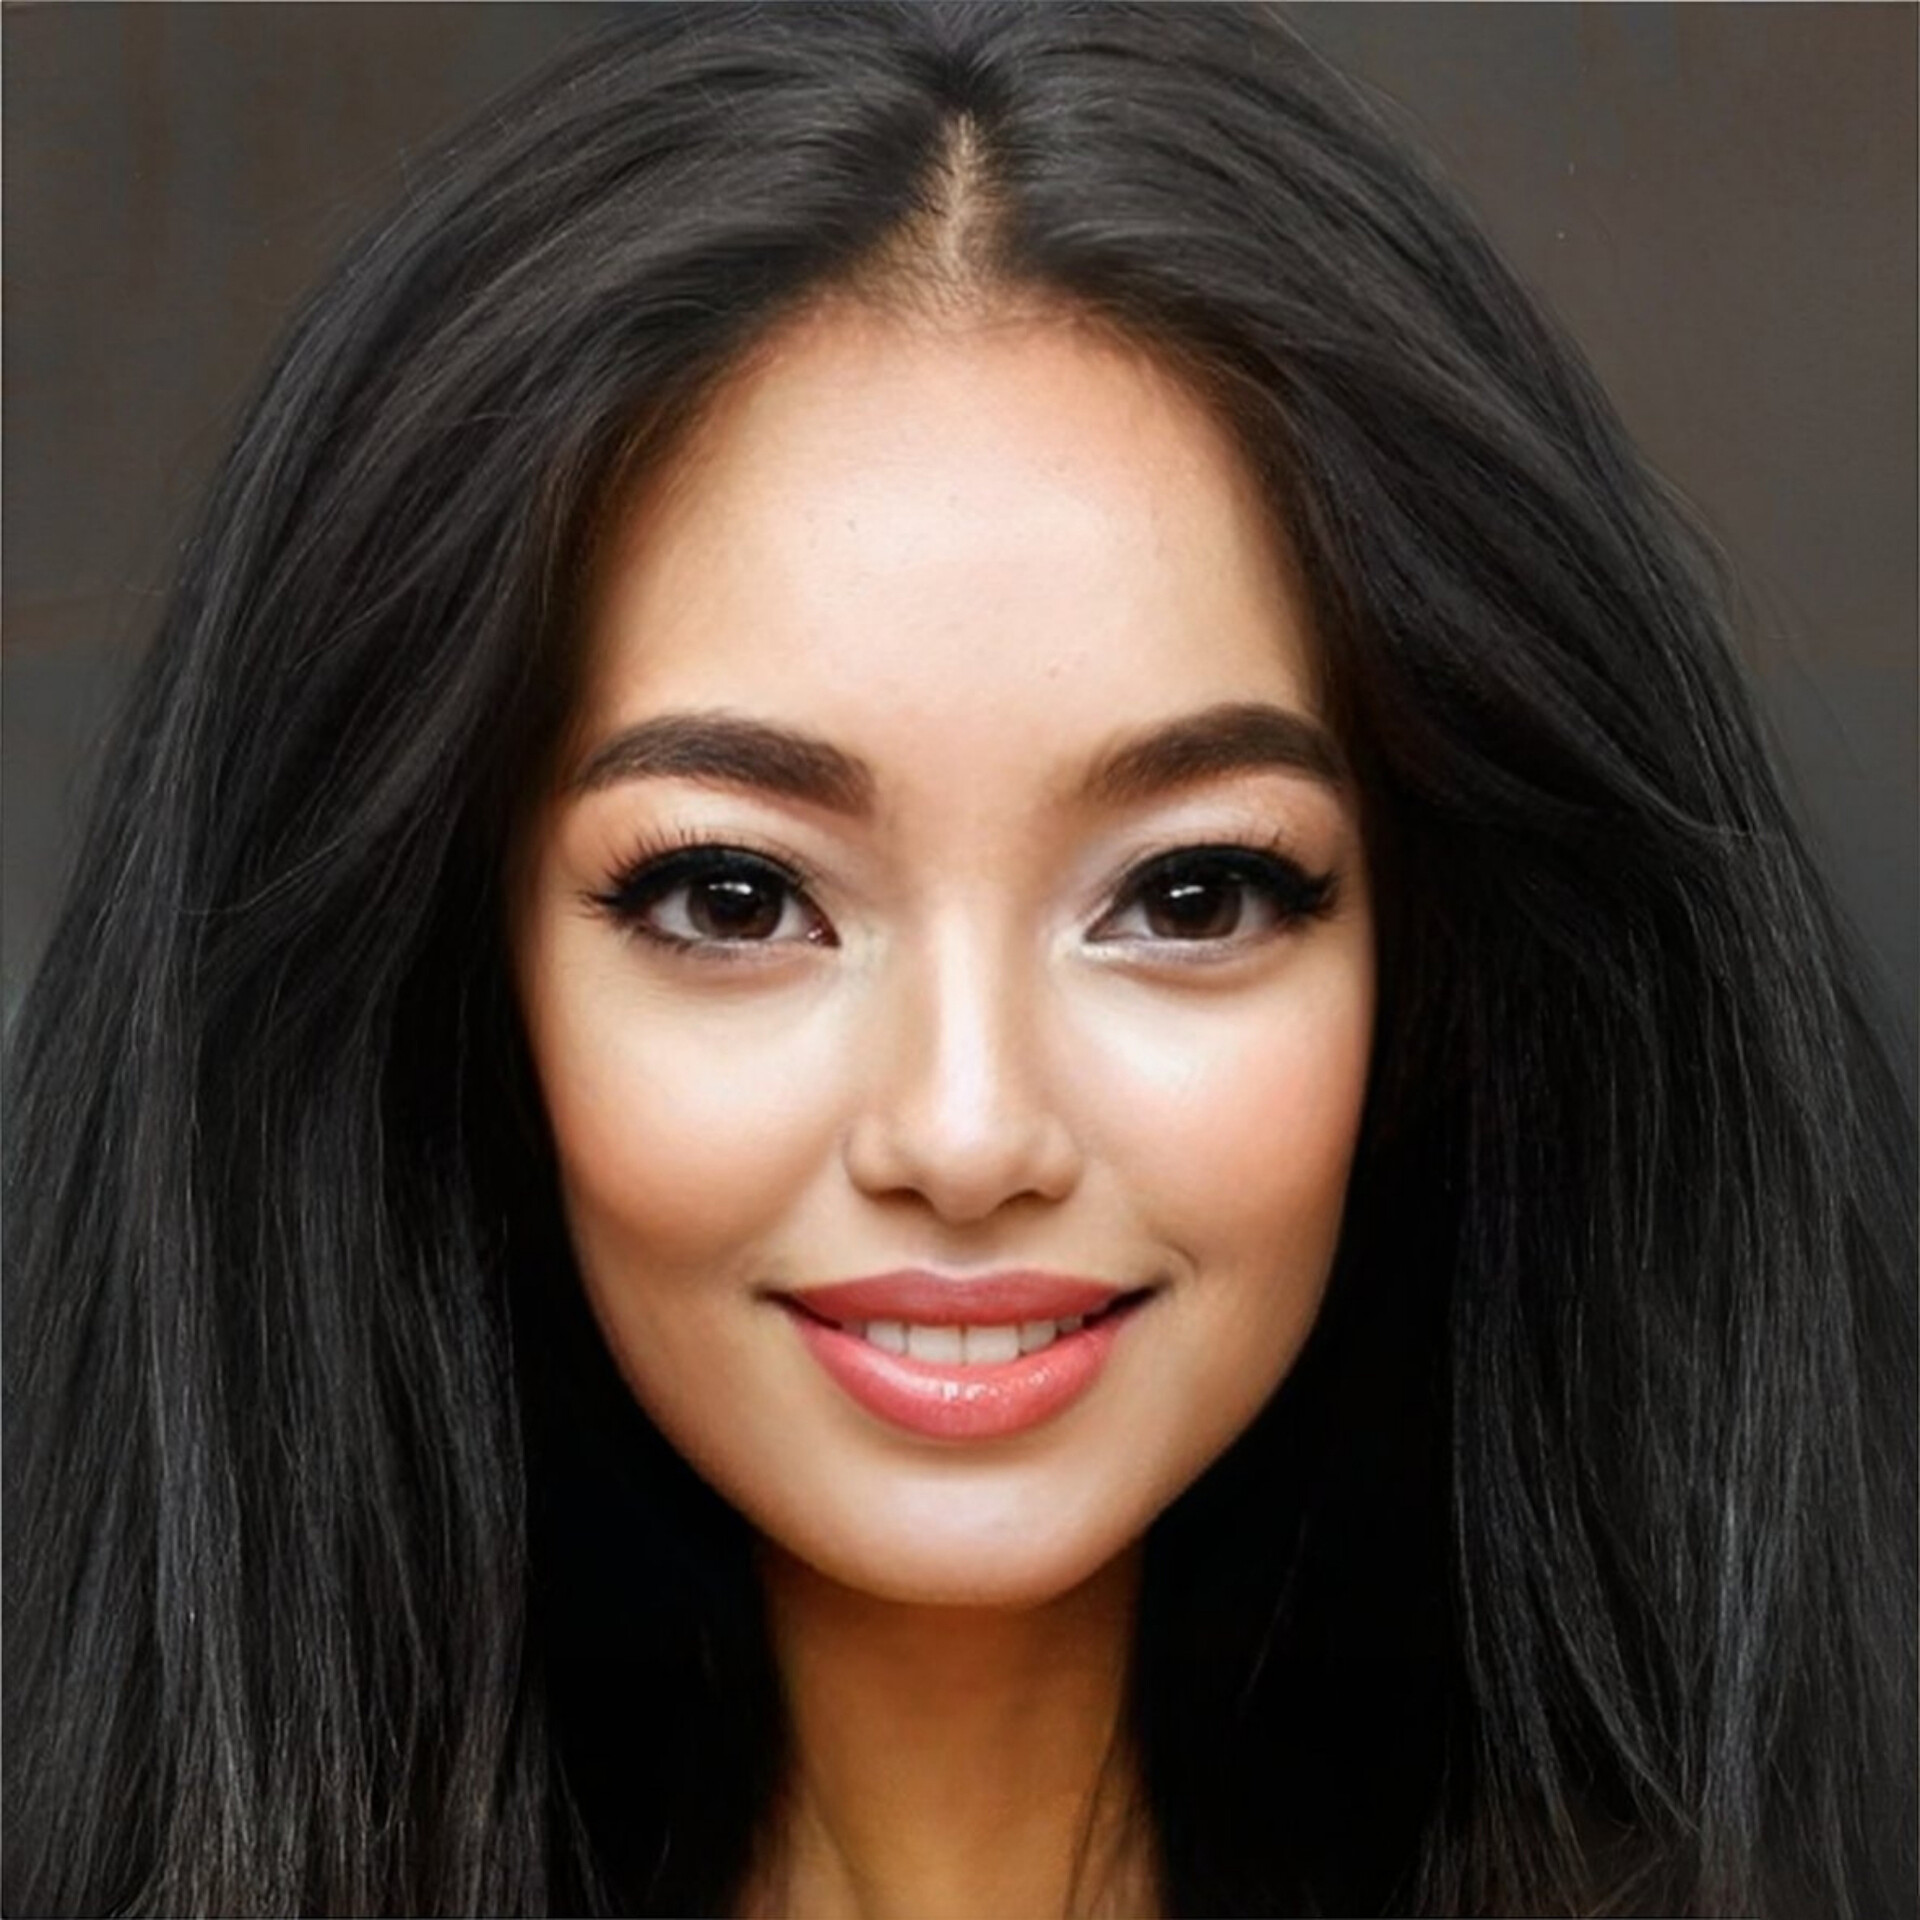
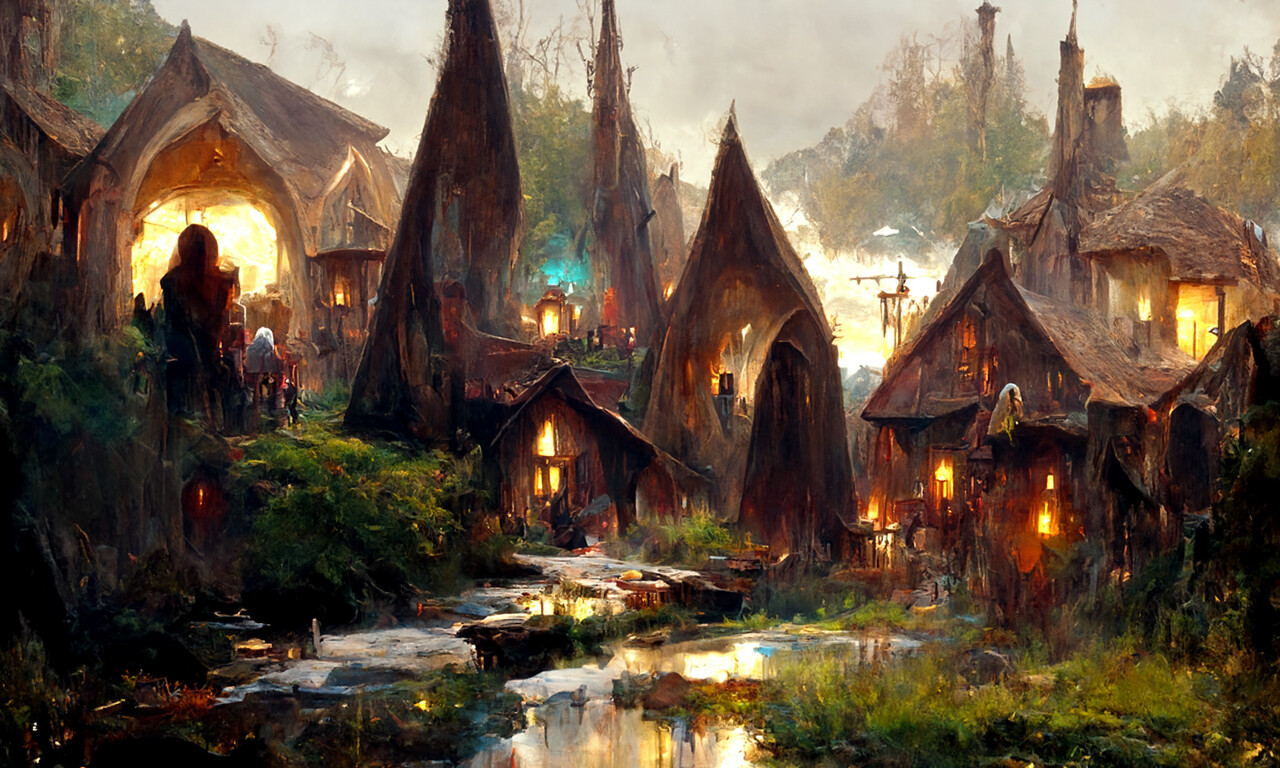
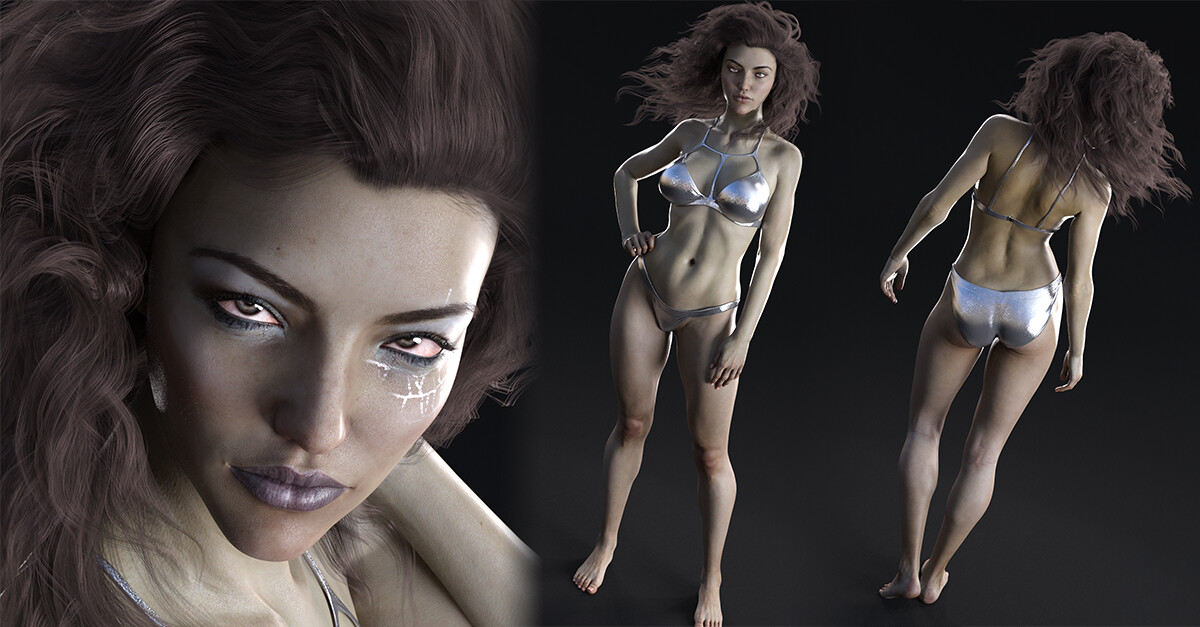
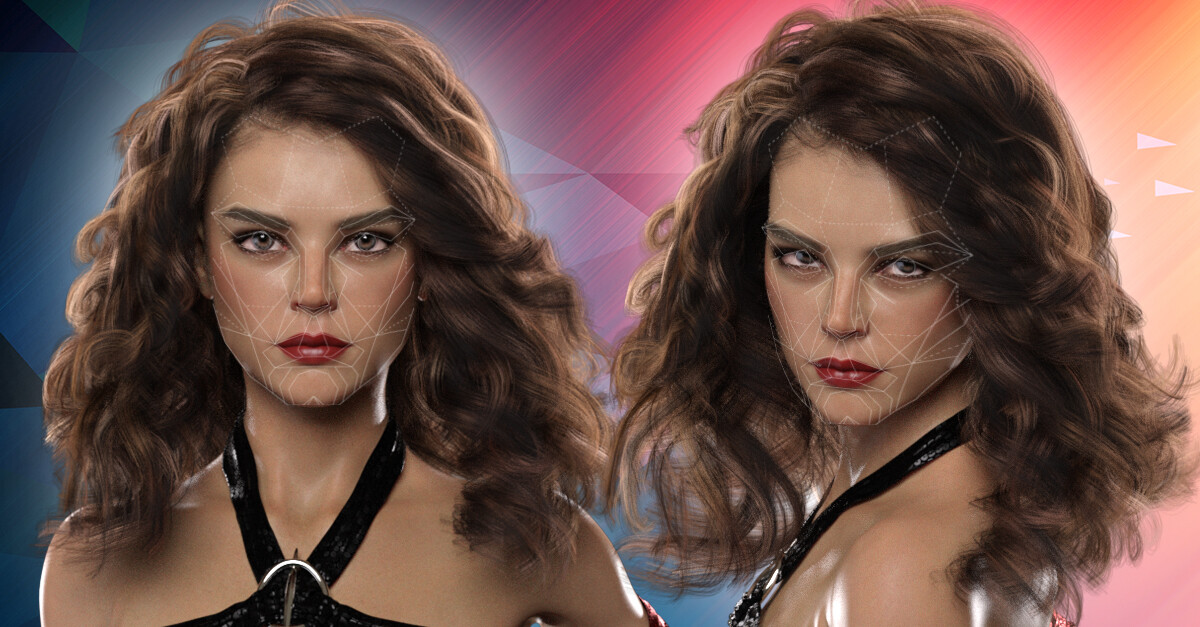
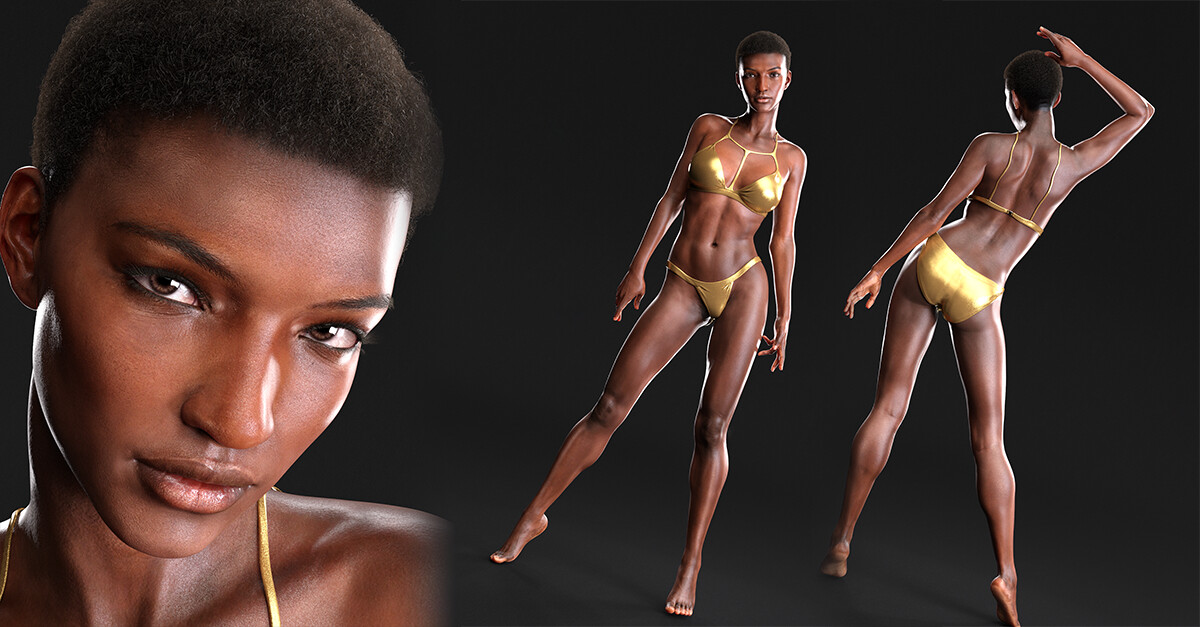
Since transferring Ariadne, I have also transferred Daphne (compare with original) and Yanmei (compare with original). I opted to do Felicity (compare with original) next, since she is the first Raiya G2F figure that is HD. My workflow has improved a bit, so I wanted to document that here.

The Textures

The workflow is still largely the same for the base set of textures. (I forgot to mention last time that if you save the Map Transfer presets, your future self will thank you, since you can just load those settings.) 

However, after discussing this with MimicMolly on the DAZ forums, I now forego the part where I swap out the makeup and eye maps on V6 to the G2F base and save them as separate material presets for Texture Transformer. Instead, since I also own V6 UVs on G8F, I load a G8F and apply the Victoria 6 UVs. I then load the V6 makeup and eye maps on G8F's Face and Lips surfaces and use Map Transfer to transfer just Face/Lips and Iris/Pupils/Sclera to G8F UV maps. I then use Photoshop to blend those into the base maps made with Texture Transformer. This is a time saver!

I have to confess, though, that as of Felicity, I'm so done with dealing with the eye maps. I'm just using EmmaandJordi G8F eye materials from here on out.

The HD Morphs

All experienced DAZ users know that HD morphs are not made available to everyone, only Published Artists. So, there is no transferring those morphs. What you can do, however, is bake the HD into normal maps. I used Substance Painter to do so.

Substance Painter will bake maps based on the different surface names, so with G2F, even though Ears/Head/Hips/Neck/Nipples/Torso uses the same map, Substance Painter will save out six different maps. You could then use Photoshop to patch it all together, but that could result in annoying seams. I think there is a Substance Add-on that will bake up to six surfaces together, but I'm so much better with Daz Studio, I just stuck with what I know. 

So in preparing the G2F figure, what I did was combine each of the following surface groups into one surface:

  • Ears, Head, Hips, Neck, Nipples, Torso → Torso
  • Face, Lips, Nostrils → Face
  • Feet, Fingernails, Forearms, Hands, Legs, Shoulders, Toenails → Legs (then renamed to Limbs, but that's not really necessary)
  • Irises, Lacrimals, Pupils, Sclera → Irises (then renamed to Eyes)
  • (I ignored the lashes and mouth groups because I'm not baking HD into these maps)

To do this, I used the Geometry Editor in Daz Studio. Select G2F in the Scene. Right click, Geometry Selection > Select by > Surfaces, and then choose all the surfaces that go together (but you have to do this one by one). Then right click, Geometry Assignment > Assign to Surface > (one of the surfaces, e.g., for group 1, all to Torso). Right click, Geometry Selection > Clear Selection. Then in the Tool Settings tab, expand the Surfaces, and delete the surfaces that no longer have geometry assigned to them. You can also rename any surfaces here. Rinse and repeat for every surface group. Then hide the Eyelashes, Gums, Inner Mouth, Teeth, Tongue surface groups. They will mess with the HD baking.

Then save the scene so you can just open this scene whenever you need to bake a G2F normal map from HD.

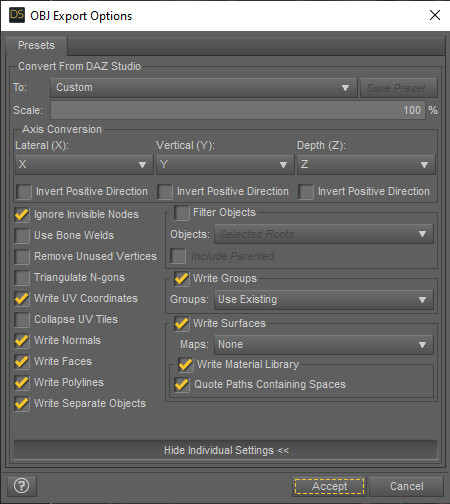
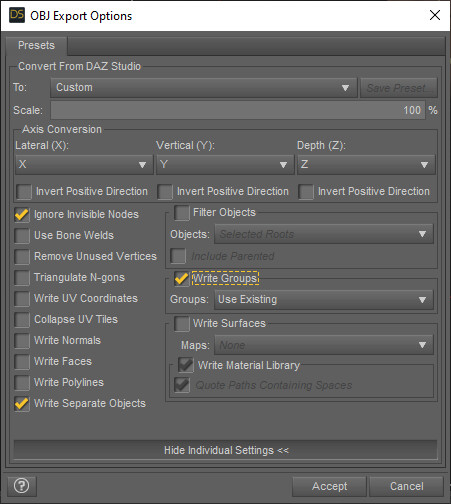
At this point, make sure G2F is on base resolution. Dial in the morphs you want. Then export to OBJ using the following settings:


Then change the resolution to high resolution and increase the subD levels to max. Export to OBJ again, using the same settings above (but obviously export to a different name).

Open Substance Painter. File > New, and in the dialogue box, click on File and select the Base Resolution OBJ file. Click OK. In the Texture Set Settings tab on the right, click on "Bake Mesh Maps." Uncheck everything except for Normal on the left pane. On the right pane, click on the document symbol by High Definition Meshes and choose the HD OBJ file. Then click "Bake all texture sets." Once that's done, File > Export Textures and collect the Normal Open GL maps.

This is not quite perfect, however, and I had to adjust the results in Photoshop a bit. I have to hit the tutorial videos again to see how I can prevent the inner mouth to deform the lip surface. There are also some seam issues that I need to resolve, but the edges can be softened in Photoshop. I'm sure there are much more experienced Substance Painter/DAZ users who can advise, so I'll look into that and update this when I have resolved the issues.

I also used Materialize to generate height maps for displacement but again, the seams need work. 

The Morphs

I batched out the Raiya women from before so I have those morphs all ready to go. 

I decided, though, to prep the Raiya men in advance, this time using Riversoft Art's Character Converter. I did first export the G2M morphs first and reimport them so they were not dependent on all the Michael 6 morphs. As clarification, the export settings I used here are different than the ones above; they are:

I then load the morphs using Morph Loader Pro, save the morphs, and save as a character preset for Character Converter to recognize it. And you will have to put it in a folder named "Characters" or else the script will fail. I just use [Custom Daz Content Folder]\People\Genesis 2 Male\Characters\[Character Preset.duf] for the sake of continuity. I opted out of transferring joint-controlled morphs ("JCMs"); for simple shapes I don't find them very necessary, and it's just going to increase the transfer time and bloat the resulting figure for no good reason.

The Character Converter does not create morphs for G8 but rather creates a scene that you can open in Daz Studio. There is a dialed-in G2M morph for the resulting G8M, so again, I just export OBJ of the entire body at base resolution, and use this method to create a separate head and body morph. 

At this point I think I'm saving/keeping track of G8 morph OBJs to import as morphs through Morph Loader Pro as needed, rather than saving all morphs. The more morphs you have for a figure, the longer it takes to load, so this is one way to save figure loading time. G8 figures are getting a nice, long life, but that also means increased loading times if you are a character addict like I am.

As for the men...I can't wait to work on them, but I'm debating whether to transfer the genital mats, since I don't do nudes. I might transfer them just for the sake of learning how.

If you have any tips that can help streamline this workflow, please comment! Thanks very much.


Report

Transferring Ariadne from G2F to G8F

Tutorial / 22 October 2020

Note: I have published some updates to this.

Raiya is one of my favorite Published Artists at Daz3d; her characters are just lovely, and I'm a character addict. During a recent Genesis 2 blowout sale, I picked up her remaining Genesis 2 figures so I have them all now! I had previously been hesitant to pick them up because at this point, I exclusively use Genesis 8 figures. I did buy a lot of conversion tools, so that's usually not a problem, but...Raiya's Genesis 2 characters tend not to use the base UV's, so that's an added step of conversion tedium that I did not previously want to deal with.

But minds are made for changing, and I decided to convert (at least some of) the characters to Genesis 8. Ariadne is Raiya's first Genesis 2 character, and I'm starting there. This is a documentation of my efforts; not quite as detailed as a tutorial, though I will link to various tutorials that have helped me over the years.

The Textures

Since Ariadne uses the Victoria 6 ("V6") UV's, the first step was to bake the textures onto the Genesis 2 Female ("G2F") base UV's. I did that with the Map Transfer utility inside Daz Studio. 

For my own future reference and for anyone else who needs a handy list, here are the surface groups for Genesis 2 figures:

  • Group 1: Ears, Head, Hips, Neck, Nipples, Torso
  • Group 2: Face, Lips, Nostrils
  • Group 3: Feet, Fingernails, Forearms, Hands, Legs, Shoulders, Toenails
  • Group 4: Gums, Inner Mouth, Teeth, Tongue
  • Group 5: Irises, Lacrimals, Pupils, Sclera
  • Other: Eyelashes (I don't bother with the rest, like Eye Reflection, etc., but if you do, they should be done separately)

Side note: Using the V6 textures on base UVs will not result in any seams, but not everything will align correctly.

I had to load all the new converted maps onto G2F (with G2F UV's) and save them as material presets, including all the makeup and eye options. This is because Texture Transformer (with the Female Add-on) ("TT") processes presets rather than simply asking for file locations. Would really love it if TT could convert using simple file locations, but alas, we have to go through this extra step. So, I used TT to convert the Base UV textures to Genesis 3 textures, since Genesis 3 Female ("G3F") and Genesis 8 Female ("G8F") share the same UV's, excepting the eyes, which are just a teensy bit off in a way that is noticeable in portrait shots. TT did not convert the makeup masks, so I had to save separate presets with those mask maps as the diffuse layer to get that texture converted.

I loaded the materials for RY Alison on Genesis 8 Female ("G8F"), just to have a base to work off of, and Alison is another Raiya character who has roughly the same complexion as Ariadne. I updated the maps to link to Ariadne's converted textures, and then I applied the mapless Victoria 8 settings from Altern8 and continued to tweak the material settings, especially for the makeup settings that have masks/shine options. I even ended up making a lip mask for gloss options, since the "Lip" surface area is greater than the textured lips.

For the eyes, I used the settings for EJ Wild's eyes (really, any EmmaandJordi eyes will look great) and the textures as a base for me to blend in Ariadne's eye textures in Photoshop. 

The Morphs

Raiya's G2F characters are based off of Daz core figures, and Ariadne is based off Victoria 6, the character involves more than one set of morphs, i.e., Ariadne's and Victoria 6's. I don't want to deal with multiple morphs in conversion, so I'd rather put the G2F in base resolution and export the morphs out and import them back in via Daz Studio's Morph Loader Pro and save the morph. While usually I'd export head and body morphs separately, since I want to use Gen X (this, this, and this) and GenX requires the dialing in of the G2F whole body shape on G3F, I just exported one Ariadne morph, since I would otherwise have to split it later anyway. 

After using GenX to transfer my Ariadne morph from G2F to G3F, I loaded up G3F and dialed in the Ariadne morph as well as the GenX G2F morph. Base resolution, export, import via Morph Loader Pro. Then I used the Sickleyield method to convert the G3F morph to G8F. 

There are other ways to do this of course (such as this or this or this and this). 

I then exported the G8F shape from base resolution, and this time, used this method to create a separate head and body morph. I like separate morphs because I like as much control as I can get.

The Toppings

My go-to fibermesh eyebrows for characters that already have painted-on brows is Real Eyebrows. It's a great product because it covers a lot of eyebrow ground, offers a fair amount of morphs (such as thicken, curl, etc.) and you can pluck as you see fit.  Note, though, that the script does not work at all. So, a long time ago, I went through this process to prepare this product for G8F: 

  1. Load both G3F and G8F.
  2. Load any Real Eyebrow eyebrow preset on G3F.
  3. Save the scene. I do this because using Geometry Editor will sometimes crash Daz Studio.
  4. Switch to Geometry Editor tool and make sure the eyebrow is selected.
  5. Right click and select all hidden, add to default group to unhide everything.
  6. Unparent from G3F and "fit to" G8F.
  7. If you use Iray, select the eyebrows, and in the Surfaces tab, choose both the "Default" and "Hiding" surfaces. Convert to Iray (usually saved to Shader Presets > Iray > DAZ Uber > !Iray Uber Base.duf).
  8. Select the eyebrows and save as Support Asset > Figure/Prop Assets, choosing compatibility base and compatible with G8F. 

I then use this method:

  1. Load the saved G8F Real Eyebrow onto G8F.
  2. Save the scene!
  3. Switch to Geometry Editor tool, right click, and select Selection Mode > Lasso Selection. 
  4. Use the mouse to draw an outline around a portion of the eyebrow you want to hide (anything that's not the painted brow in this case).
  5. Right click, select Geometry Selection > Select Connected. This way, the entire brow hair of each hair selected will be included so you won't have awkwardly cut brow hair or a brow hair that does not have a root. 
  6. Right click again, select Geometry Assignment > Create Surface from Selected and name a new surface area, "Hidden." For some reason, the existing "Hiding" surface area just does not work for me.
  7. Set opacity for "Hidden" to 0.
  8. Repeat steps 4 and 5 for other areas to hide, but instead of step 6: Right click, select Geometry Assignment > Assign to Surface > "Hidden."
  9. Rinse and repeat as necessary.
  10. Apply appropriate hair shader to the eyebrows.

For Ariadne specifically, I also used the vellus hair that comes with Liliana, and the Victoria 8 HD add-on.

The Results

I've posted the results here. Feel free to compare with the original, which was rendered before the Iray engine was integrated into Daz Studio. Comments welcome!


Report

DIOR Summer 2021 Men's Fashion Show Palettes

General / 19 July 2020


I'm absolutely in love with Dior's Summer 2021 Men's Fashion collection. Part of it's the lovely palette, so I've collected some of my favorites to share!


Report

Featured Elsewhere

General / 19 July 2020


Greetings, Earthlings!

Excited to be nominated and then voted Artist of the Month at Renderosity; the announcement is here, and a short interview is here.

Also, as COVID-19 has been impacting things like real-life photo shoots, some fashion brands have turned to 3D models to show off their wares. I worked with elise x elisia and miracreativenyc to bring their resort wear vision to virtual life; their site is now displaying some of my editorials and e-commerce images, with more to come in the following weeks.

Stay safe!

Report

Golden Ratio = Beautiful Faces?

Article / 11 May 2020


Have you seen articles claiming that science (or math) has dictated that the most beautiful woman in the world, as of 2019, is Bella Hadid? Back in 2016, the same individual--plastic surgeon Julian De Silva--declared Amber Heard the most beautiful woman in the world, but she was "dethroned" in 2019.

Dr. De Silva discusses his methods here (note: this is a podcast; if you want something written, see the methods of a biostatistics professor, Kendra Schmid, here). Basically, they employ the Golden Ratio to facial proportions.

Do I buy this? Not. so. much. I can buy that someone whose face follows the Golden Ratio may be considered attractive (also unproven), but most attractive? And on top of it, use this to rank women? (As of 2020, Dr. De Silva ranks men as well, with Robert Pattinson topping the list.) 

As to Dr. De Silva's rankings, he certainly has not published any details beyond the list of winners and their close-to-perfection percentage. In particular, he has not published a list of celebrities whose faces were examined. Presumably, he only considered attractive celebrities to begin with, and I suspect not that many of them. Since he has published his list twice now, once in 2016 and once in 2019, I thought it was interesting to observe who made the list each time.

The List in 2016

  1. Amber Heard (91.85% "'accurate' to the Golden Ratio of Beauty Phi")
  2. Kim Kardashian (91.39%)
  3. Kate Moss (91.06%)
  4. Emily Ratajkowski (90.8%)
  5. Kendall Jenner (90.18%)
  6. Helen Mirren (89.93%)
  7. Scarlett Johansson (89.82%)
  8. Selena Gomez (89.57%)
  9. Marilyn Monroe (89.41%)
  10. Jennifer Lawrence (89.24%)

The List in 2019

  1. Bella Hadid (94.35%)
  2. Beyoncé (92.44%)
  3. Amber Heard (91.85%)
  4. Emily Ratajkowski  (91.81%)
  5. Taylor Swift (91.64%)
  6. Kate Moss (91.05%)
  7. Scarlett Johansson (90.91%)
  8. Natalie Portman (90.51%)
  9. Katy Perry (90.08%)
  10. Cara Delevigne (89.99%)

As of 2019, Kim Kardashian and Kendall Jenner no longer warrant mentions in the Top 10, despite Cara Delevigne's score being "lower" than theirs.  Or maybe their faces/scores changed. It's certainly possible, since Emily Ratajkowski's and Scarlett Johansson's scores went up in the intervening three years. Or it could be that he used different photographs. 

Selection-wise, who knows, all of this could be "political." In other words, which celebrity mentions might bring the most eyeballs on social media or sell magazines, which celebrity mentions might suggest more legitimacy among a different demographic (Monroe), which celebrities agreed to cross-promote ahead of time (definitely not Monroe), etc. Some Instagram commenters complained that Dr. De Silva included people who have undergone facial plastic surgery, although that's really the point of the rankings--to sell his plastic surgery services so that you, too, can become more beautiful! 

In light of the 2019 list, the 2016 list is also highly suspect in its blatant omissions. No Beyoncé? No Taylor Swift? No Natalie Portman? No Katy Perry? All of these women were very famous even in 2016, yet they were not "measured" until 2019? Who even are the candidates?

I read some criticism of the 2016 list that few WOCs were included; lo and behold, in 2019, Beyoncé is ranked second, though we still have no idea if more WOCs were included this latest round. If there were not, then there's an inherent bias here. If there were and many did not make the list, it would suggest that the Golden Ratio is a very Westernized idea of beauty, if it can represent beauty at all.

I thought I'd try to replicate the calculations starting with Bella Hadid, but I immediately ran into some problems. In most of her photographs, she has a preferred facial pose: chin down, looking up, ever so slightly but enough to potentially skew any ratios. Then, admittedly, I just gave up because I realized I don't buy into this anyway.


Report

Side Quest: The Average Male Model Face (and Chest)

Article / 21 April 2020


As a follow up to my experiment yesterday with female models from the Miu Miu Fall/Winter 2020 runway show, I decided to run some male models through LoveChild as well.

Instead of using a runway show, I used the model polaroids from the Tomorrow Is Another Day (TIAD) modeling agency site. I chose them because they take consistent photographs from the same angles of all their models. There's also a decent sample size; here, I averaged 207 male models.

As I mentioned before, since LoveChild can average only two photos at once, it's a process to get to all 207 models (and some had to be used twice to make it work). With Miu Miu's 66 runway models, the averages started looking much similar much earlier in the process. The male models at TIAD seem to have more facial variety/differences such that only at the very, very end did the averages start looking very similar.

Is this what you would have expected their average male model to look like? Knowing TIAD's taste in men, it's not too surprising to me.

If you're on my website and want to comment, please visit this post on the Artstation site: https://www.artstation.com/missuskisses/blog/vyLP/side-quest-the-average-male-model-face-and-chest

Report

Side Quest: The Average Model Face

Article / 20 April 2020


During an earlier flash sale, I grabbed the LoveChild software at a steep discount. It's a photo morphing software that is meant for facial portraits. Its advertised use is for you to combine two portraits to create a new "person" that you can use to generate 3D faces with the developer's other software (which I do not own).

As part of my workflow for creating characters, I definitely prefer to pick and choose features that I want. And "averaging" people tends to make them less distinctive. But I love playing around with software, experimenting, and having fun.

Have you seen composite photographs that show the "average" human face, or "average" human female face from [insert continent here] or "average" human male face from [insert country here]? Like this? They usually end up being fairly attractive no matter what. 

So what happens when you average a gaggle of models who are attractive to begin with? I chose to experiment with photographs from Miu Miu's Fall/Winter 2020 runway show, since I'd have fairly consistent lighting and a fairly large sample of models (66 with no repeats--well, I didn't fully verify this, but neither Bella nor Gigi Hadid walked twice, and those two tend to be the most likely suspects). Of course, since LoveChild only processes two photographs at a time, as opposed to averaging out the entire set all at once, a few photos would have to be weighted higher/lower. That turned out not to matter much, though, because by the time I whittled this down to a few photographs, they were all looking pretty similar anyway.

The result? See above. What do you think? Is it close to what you would have expected?

Some notes on using LoveChild: 

  • As you can see in the product promos, there are definitely artifacts when you combine two photos. But as you can see from my photo shared above, as you keep averaging photos, the result is blurrier but smoother. (The result may be better if higher resolution photos were used, but I cropped the heads from full-body photos, so the originals weren't of the highest quality.) 
  • The program looks for faces. If another model appeared walking behind the main model being pictured, I did have to crop out the background faces or else the program would produce an error.
  • Some of the models wore sunglasses. Most did not, so the glasses mostly faded away by the end result (though I admit I did a tiny, tiny bit of touch-up deleting a faint line).

Some thoughts on further experimentation:

  • This tool could be used as a visual representation of how any brand has cast more diverse models over the years. Or, how they compare to each other in any given year.
  • We could also see any given brand's "taste" in runway models, how that has evolved, or how it has changed over the years. Probably only minimally useful, since any individual model could vary greatly from the average, but if a show has a distinct preference for long noses, maybe that would be reflected in the average.

If you're on my website and want to comment, please visit this post on the Artstation site: https://www.artstation.com/missuskisses/blog/Mg2O/side-quest-the-average-model-face.

Report