
Note: I have published some updates to this.
Raiya is one of my favorite Published Artists at Daz3d; her characters are just lovely, and I'm a character addict. During a recent Genesis 2 blowout sale, I picked up her remaining Genesis 2 figures so I have them all now! I had previously been hesitant to pick them up because at this point, I exclusively use Genesis 8 figures. I did buy a lot of conversion tools, so that's usually not a problem, but...Raiya's Genesis 2 characters tend not to use the base UV's, so that's an added step of conversion tedium that I did not previously want to deal with.
But minds are made for changing, and I decided to convert (at least some of) the characters to Genesis 8. Ariadne is Raiya's first Genesis 2 character, and I'm starting there. This is a documentation of my efforts; not quite as detailed as a tutorial, though I will link to various tutorials that have helped me over the years.
The Textures
Since Ariadne uses the Victoria 6 ("V6") UV's, the first step was to bake the textures onto the Genesis 2 Female ("G2F") base UV's. I did that with the Map Transfer utility inside Daz Studio.
For my own future reference and for anyone else who needs a handy list, here are the surface groups for Genesis 2 figures:
- Group 1: Ears, Head, Hips, Neck, Nipples, Torso
- Group 2: Face, Lips, Nostrils
- Group 3: Feet, Fingernails, Forearms, Hands, Legs, Shoulders, Toenails
- Group 4: Gums, Inner Mouth, Teeth, Tongue
- Group 5: Irises, Lacrimals, Pupils, Sclera
- Other: Eyelashes (I don't bother with the rest, like Eye Reflection, etc., but if you do, they should be done separately)
Side note: Using the V6 textures on base UVs will not result in any seams, but not everything will align correctly.
I had to load all the new converted maps onto G2F (with G2F UV's) and save them as material presets, including all the makeup and eye options. This is because Texture Transformer (with the Female Add-on) ("TT") processes presets rather than simply asking for file locations. Would really love it if TT could convert using simple file locations, but alas, we have to go through this extra step. So, I used TT to convert the Base UV textures to Genesis 3 textures, since Genesis 3 Female ("G3F") and Genesis 8 Female ("G8F") share the same UV's, excepting the eyes, which are just a teensy bit off in a way that is noticeable in portrait shots. TT did not convert the makeup masks, so I had to save separate presets with those mask maps as the diffuse layer to get that texture converted.
I loaded the materials for RY Alison on Genesis 8 Female ("G8F"), just to have a base to work off of, and Alison is another Raiya character who has roughly the same complexion as Ariadne. I updated the maps to link to Ariadne's converted textures, and then I applied the mapless Victoria 8 settings from Altern8 and continued to tweak the material settings, especially for the makeup settings that have masks/shine options. I even ended up making a lip mask for gloss options, since the "Lip" surface area is greater than the textured lips.
For the eyes, I used the settings for EJ Wild's eyes (really, any EmmaandJordi eyes will look great) and the textures as a base for me to blend in Ariadne's eye textures in Photoshop.
The Morphs
Raiya's G2F characters are based off of Daz core figures, and Ariadne is based off Victoria 6, the character involves more than one set of morphs, i.e., Ariadne's and Victoria 6's. I don't want to deal with multiple morphs in conversion, so I'd rather put the G2F in base resolution and export the morphs out and import them back in via Daz Studio's Morph Loader Pro and save the morph. While usually I'd export head and body morphs separately, since I want to use Gen X (this, this, and this) and GenX requires the dialing in of the G2F whole body shape on G3F, I just exported one Ariadne morph, since I would otherwise have to split it later anyway.
After using GenX to transfer my Ariadne morph from G2F to G3F, I loaded up G3F and dialed in the Ariadne morph as well as the GenX G2F morph. Base resolution, export, import via Morph Loader Pro. Then I used the Sickleyield method to convert the G3F morph to G8F.
There are other ways to do this of course (such as this or this or this and this).
I then exported the G8F shape from base resolution, and this time, used this method to create a separate head and body morph. I like separate morphs because I like as much control as I can get.
The Toppings
My go-to fibermesh eyebrows for characters that already have painted-on brows is Real Eyebrows. It's a great product because it covers a lot of eyebrow ground, offers a fair amount of morphs (such as thicken, curl, etc.) and you can pluck as you see fit. Note, though, that the script does not work at all. So, a long time ago, I went through this process to prepare this product for G8F:
- Load both G3F and G8F.
- Load any Real Eyebrow eyebrow preset on G3F.
- Save the scene. I do this because using Geometry Editor will sometimes crash Daz Studio.
- Switch to Geometry Editor tool and make sure the eyebrow is selected.
- Right click and select all hidden, add to default group to unhide everything.
- Unparent from G3F and "fit to" G8F.
- If you use Iray, select the eyebrows, and in the Surfaces tab, choose both the "Default" and "Hiding" surfaces. Convert to Iray (usually saved to Shader Presets > Iray > DAZ Uber > !Iray Uber Base.duf).
- Select the eyebrows and save as Support Asset > Figure/Prop Assets, choosing compatibility base and compatible with G8F.
I then use this method:
- Load the saved G8F Real Eyebrow onto G8F.
- Save the scene!
- Switch to Geometry Editor tool, right click, and select Selection Mode > Lasso Selection.
- Use the mouse to draw an outline around a portion of the eyebrow you want to hide (anything that's not the painted brow in this case).
- Right click, select Geometry Selection > Select Connected. This way, the entire brow hair of each hair selected will be included so you won't have awkwardly cut brow hair or a brow hair that does not have a root.
- Right click again, select Geometry Assignment > Create Surface from Selected and name a new surface area, "Hidden." For some reason, the existing "Hiding" surface area just does not work for me.
- Set opacity for "Hidden" to 0.
- Repeat steps 4 and 5 for other areas to hide, but instead of step 6: Right click, select Geometry Assignment > Assign to Surface > "Hidden."
- Rinse and repeat as necessary.
- Apply appropriate hair shader to the eyebrows.
For Ariadne specifically, I also used the vellus hair that comes with Liliana, and the Victoria 8 HD add-on.
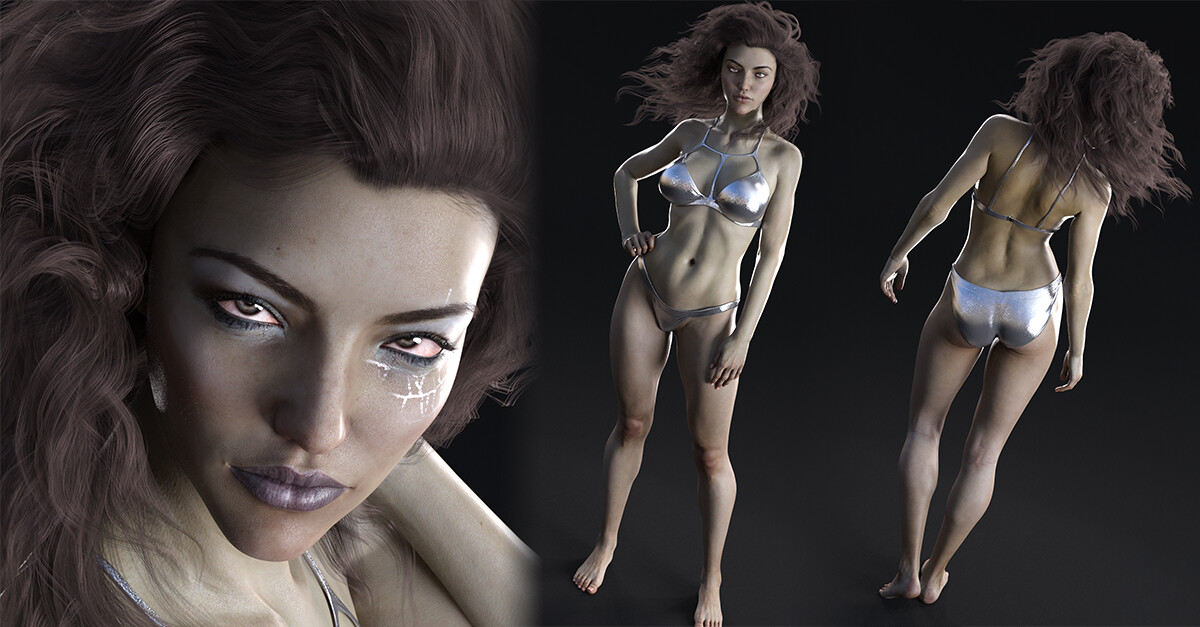
The Results
I've posted the results here. Feel free to compare with the original, which was rendered before the Iray engine was integrated into Daz Studio. Comments welcome!